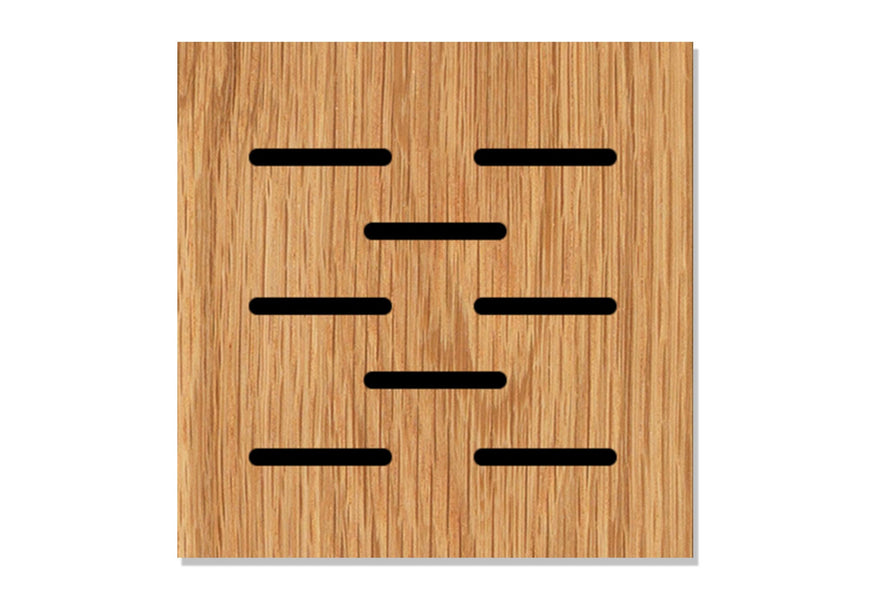
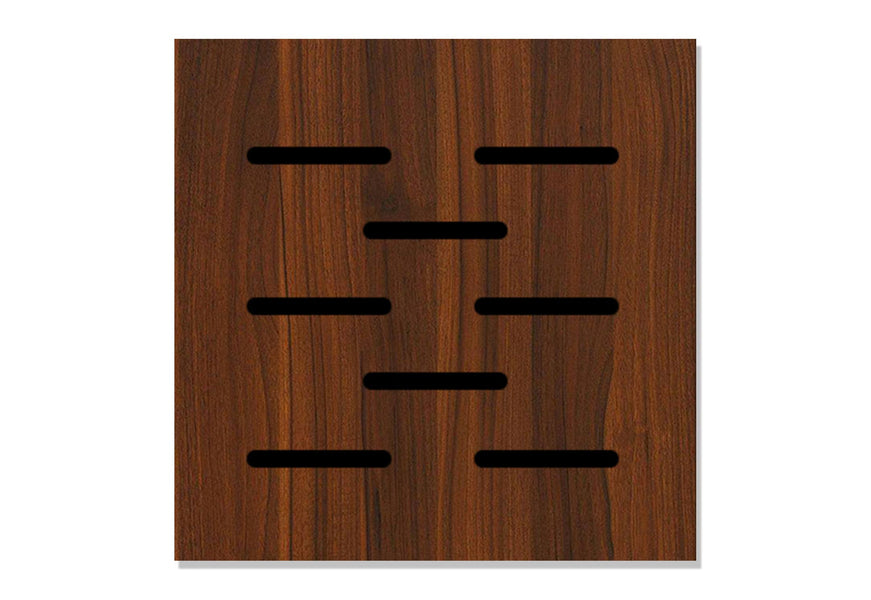
slotted wood panel (sl56)
slotted acoustic panel
With Murano Acoustics®, there are no limits but your imagination. With a wide array of styles and finishes to choose from, you can achieve the space you’ve envisioned for your clients at a price they can afford. As an architect or designer, freshness of design can be a distinct competitive advantage. That’s why offering new options in design materials is so important to Murano Acoustics®. Our mission is to help you create beautiful and acoustically superior interiors utilizing the sustainability of natural wood.
When your interiors require: 1) beauty, 2) durability, and 3) cost-effectiveness that will delight your clients and their budgets think Murano Acoustics®. We’ll work with you to customize a space, large or small, to meet your client’s specific needs. Contact Murano Acoustics® or your authorized dealer today for more information and/or free sample panels. We look forward to serving you and becoming your partner in acoustically superior, breathtakingly beautiful interiors.
Sound Absorption Data
Relative Humidity: 80%
Relative Temperature: 23 Degrees Celcius
Specifications: The specimen consisted of 15 units. Each unit measured 293mm wide by 2400mm long and 18mm thick. The overall area of the specimen was 10.5 m2. The opened groove on the panel was 3mm wide and the distance between grooves was 32mm. SoundTex nonwoven acoustic fabric was glued to the backs of the panels.
Mounting Methods:
150mm Of Air Space: The specimen was mounted with an airspace of 50mm thickness behind it.
100mm of Air Space: The specimen was mounted with an airspace of 100mm thickness behind it.
50mm Thick Insulation: The specimen was backed with fiber glass of 50mm thickness.
50mm Insulation and 400mm of Air Space: The specimen was mounted with insulation 50mm thickness. The mounting was E-400 with a 400mm gap behind the panel.
EXTRA
Installation shall be done only when all wet work has been completed and dried. Temperature and humidity conditions must match the normal conditions in the occupied space. The humidity of the room shall not drop under 25% or exceed 55%. The HVAC system shall be functioning continuously before, during and after installation.
It is important that plenums have proper ventilation, especially in high moisture areas. There shall be no excessive build up of heat in the installation areas. Prior to the start of installation, all exterior windows and doors are to be in place, glazed, and weather-stripped. The roof is to be watertight.
Mechanical, electrical, and other utility service installations beyond the wall or ceiling plane shall be completed. No materials should rest against, or wrap around, the wall or ceiling attachment components or connecting hangers. Review the Murano Acoustics® Installation Guidelines for details on the appropriate project site conditions prior to installation.
Murano acoustical panels shall be delivered to the project site in original, unopened packages. Any damage to package material, discrepancy in quantity or errors should be put in writing and submitted immediately to the Contractor. The Murano acoustical panels shall be stored flat and level, in a fully enclosed space as per section of these specifications.
The panels shall be stored in the room in which they will be installed at least 96 hours before the installation takes place and allow to acclimatize. Factory finished products require up to a week or more on site for acclimatization. The room conditions, namely the room’s temperature and humidity shall match the conditions that will be normal in the occupied space.
Store the Murano Acoustics® panels off the ground, on a pallet. Murano Acoustics® panels shall be handled in a manner that will protect them from any type of damage. Review the Murano Acoustics® Installation Guidelines for details on how to store, handle and acclimatize the panels prior to installation.
Upon completion of the Murano Acoustics® installation, remove dust from surface, grooves and penetrations by vacuuming using only a soft brush. DO NOT scratch wood surface with sharp metal or plastic vacuum attachment. Remove pencil marks with soft erasure. Remove general surface dirt, dust, grease, oils, and fingerprints with a soft damp warm cloth with a mild diluted cleaning agent. Wipe dry with a soft dry cloth. Do not use cleaners with grit or cloths that could scratch the wood surface.

